Welcome to 2016! 🎉💥☕️
I can’t believe it’s been so long since I’ve scone blogged. In my defense, it’s been a long two years, and I haven’t been making a lot of scones. But this past month, I am finally getting back into the scone baking–and experimenting with gluten free scones!
Some of you will be groaning, others will be quite happy. But it’s fun to be challenged by gluten free flours and other allergens to avoid. So I’ve committed to making some new recipes up, adapting others, and getting more comfortable with gluten free scones. (As an aside, I’ll also be trying to avoid egg, dairy, and soy.)
Gluten free baking can be a huge challenge. The flours don’t stick together like they ought, it’s grainy, it’s dry, it’s crumbly, it’s…well, it’s just not wheat flour.
Scones are, thankfully for gluten free eaters, supposed to be crumbly. But they really aren’t supposed to be dry. No, really, scones aren’t supposed to be dry. They are supposed to be moist, filled with flavor and goodness.
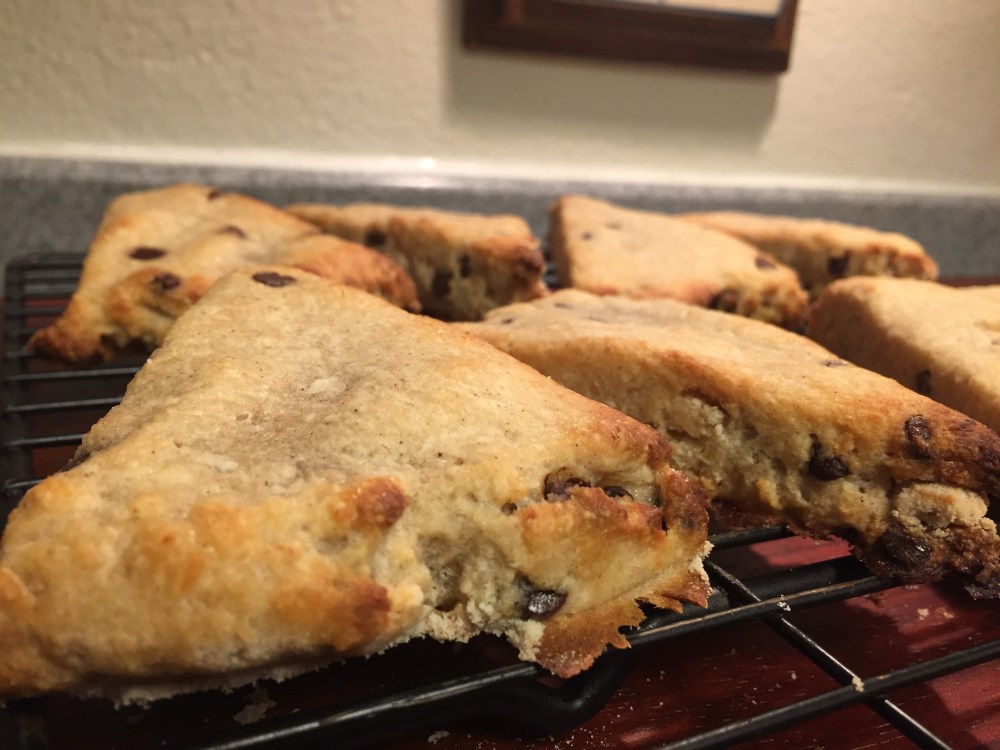
These ones, inspired by The Sensitive Pantry’s Cinnamon Cream Scones, were somewhere in the middle of moist and dry. I could have (and should have) used more coconut milk, but I erred on the side of dry and did not. I could have (and should have) allowed the dough to sit for the flours to soak up the moisture.
However, what I did like about these scones was the subtle sweetness and the scone crumbly texture. Scones aren’t supposed to be caky or gummy, and previous gluten free scones I’ve tried have been both. (I don’t like caky scones.)
As I’m trying to reduce refined sugars from my life, I made some substitutions to the original recipe here, like honey for granulated sugar, and coconut sugar for brown sugar. So it created a more subtle sweetness than regular sugar would have, and I liked that.
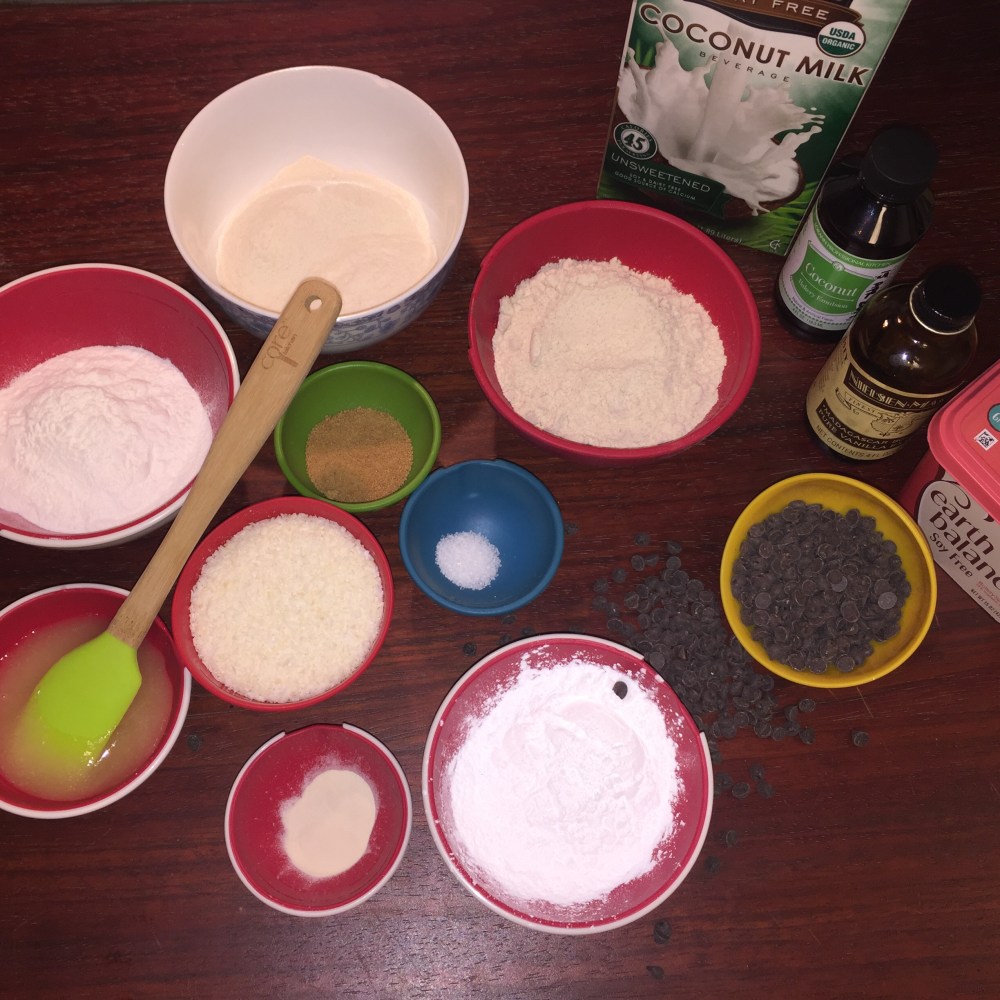
Ingredients:
2.5 ounces brown rice flour
1.5 ounces tapioca flour
2.5 ounces sweet rice flour
½ teaspoon xanthan gum
2 teaspoons coconut sugar
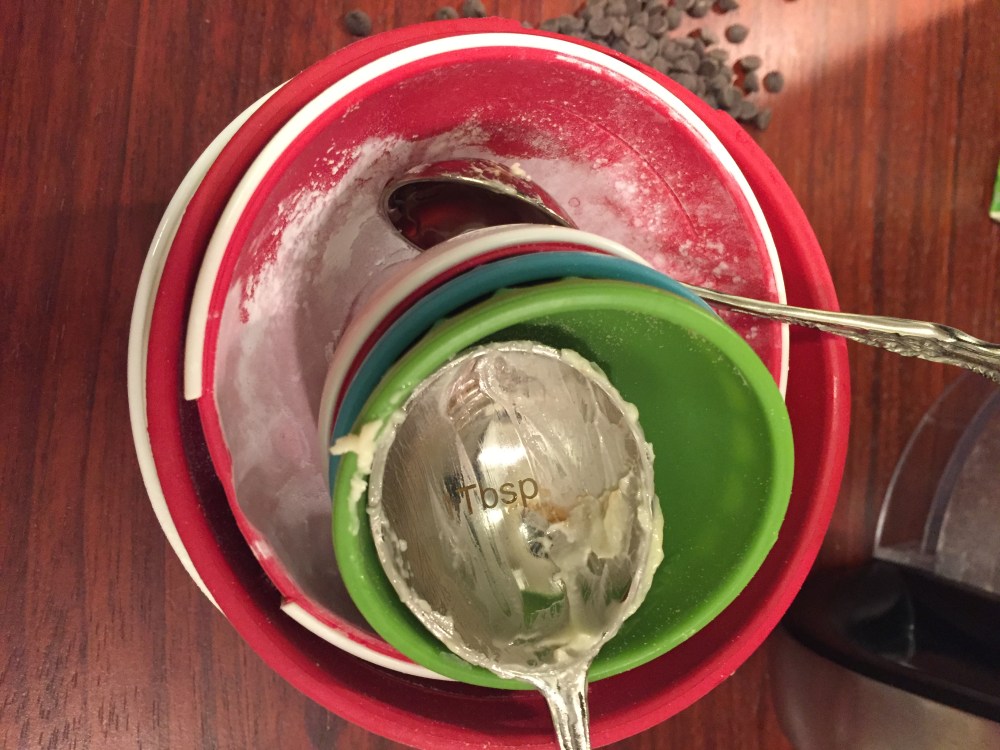
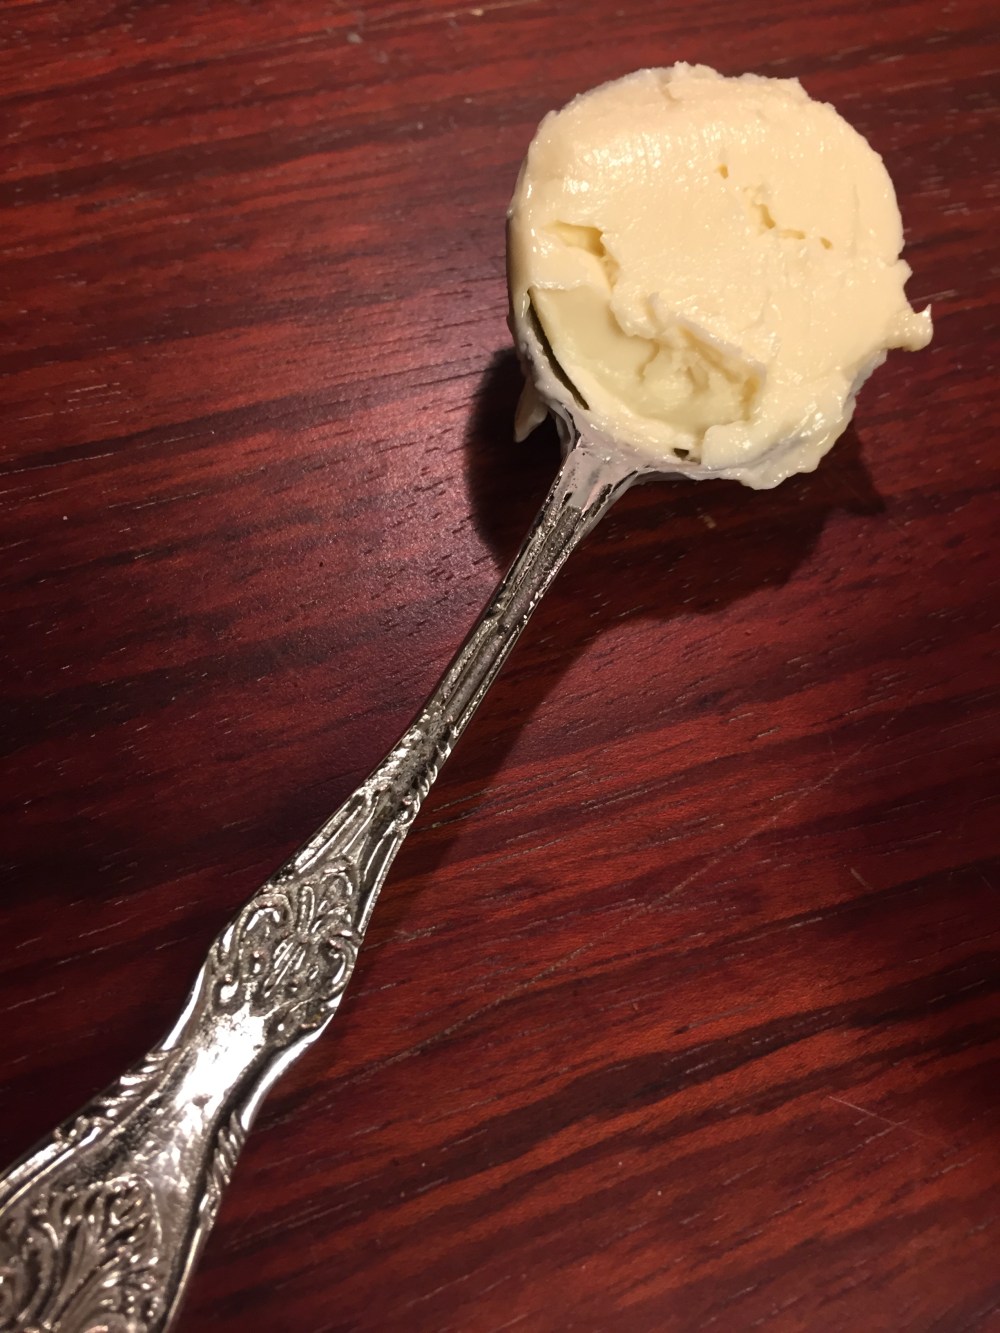
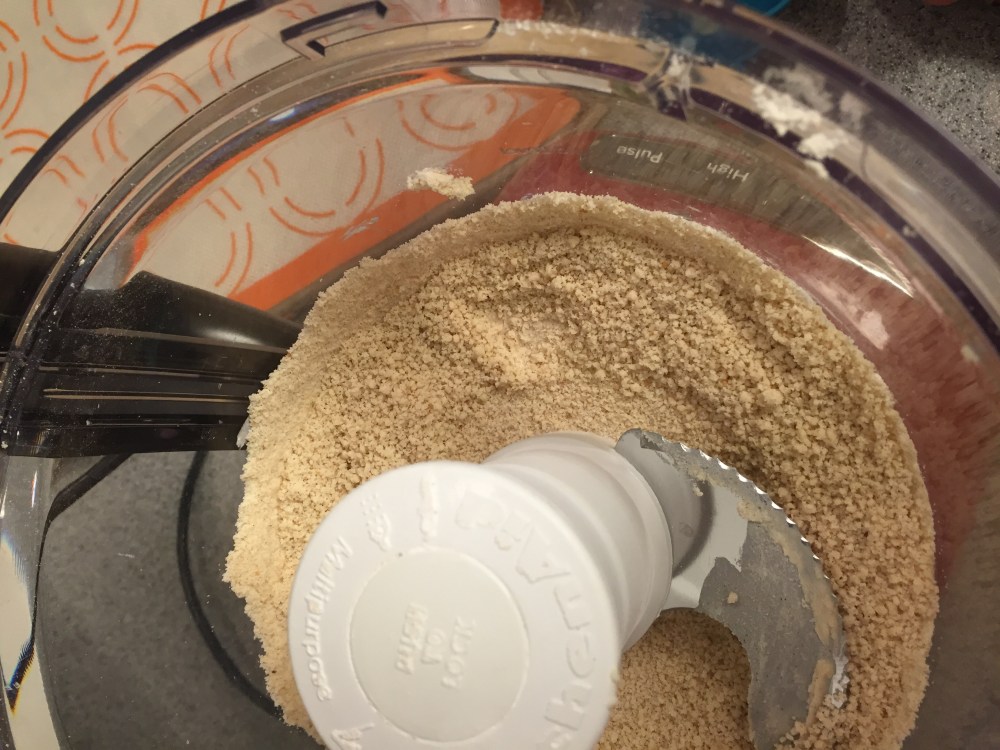
4. Add the butter substitute in small chunks, spread evenly on top of the dry mixture. Cover and pulse until the mix resembles coarse meal. You can choose to do this by hand, and if so, use a fork or pastry blender to work the chilled butter in until it resembles coarse meal. You don’t want any large buttery clumps.
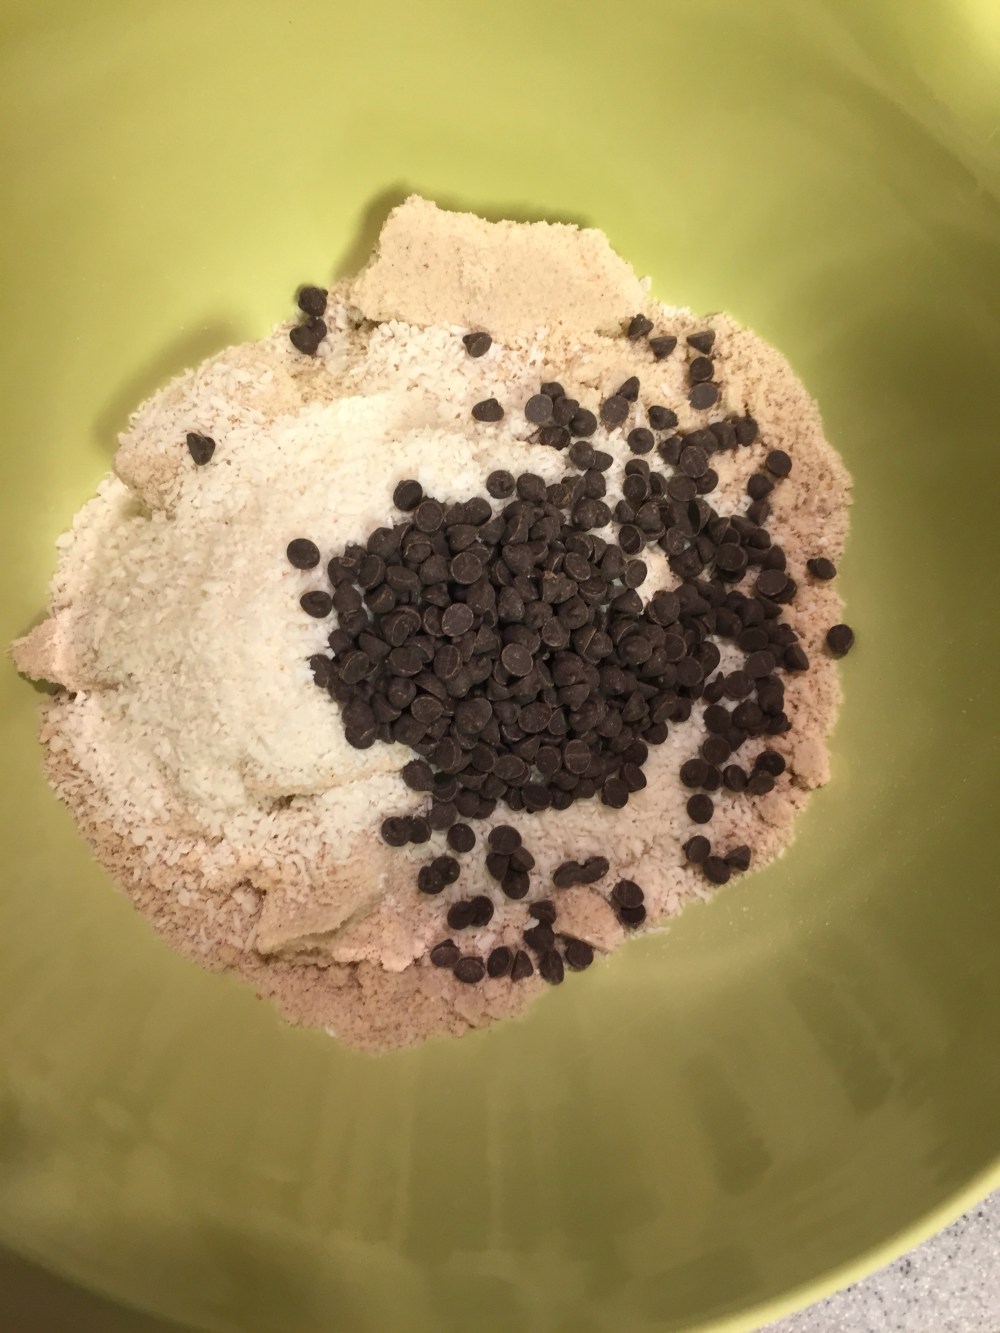
5. Transfer the dough to a large bowl. Add the shredded coconut and the chocolate chips. Give it a few stirs with a spatula to evenly distribute the ingredients.
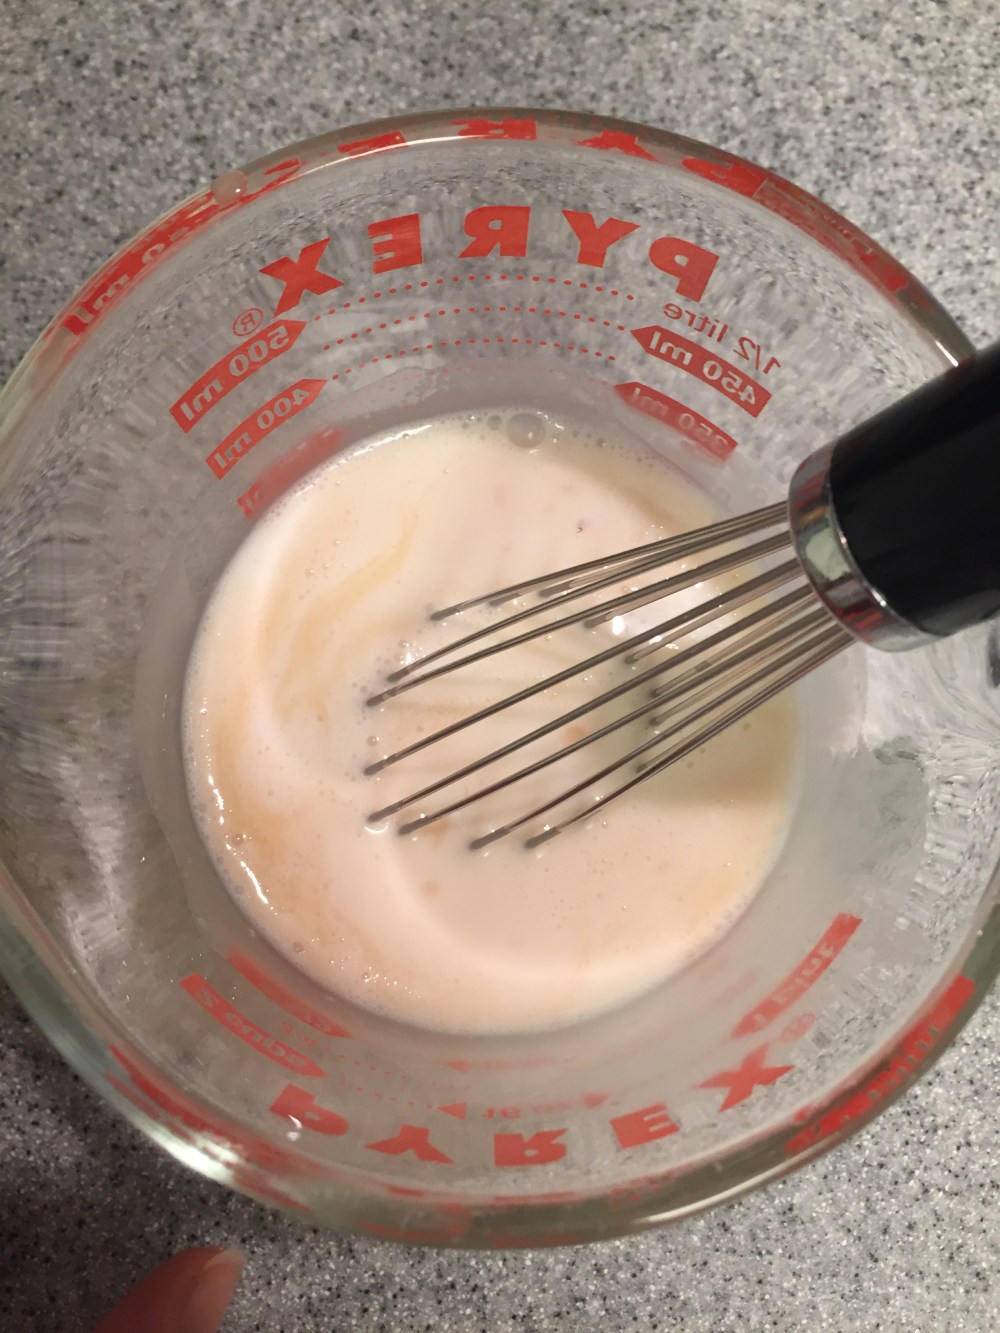
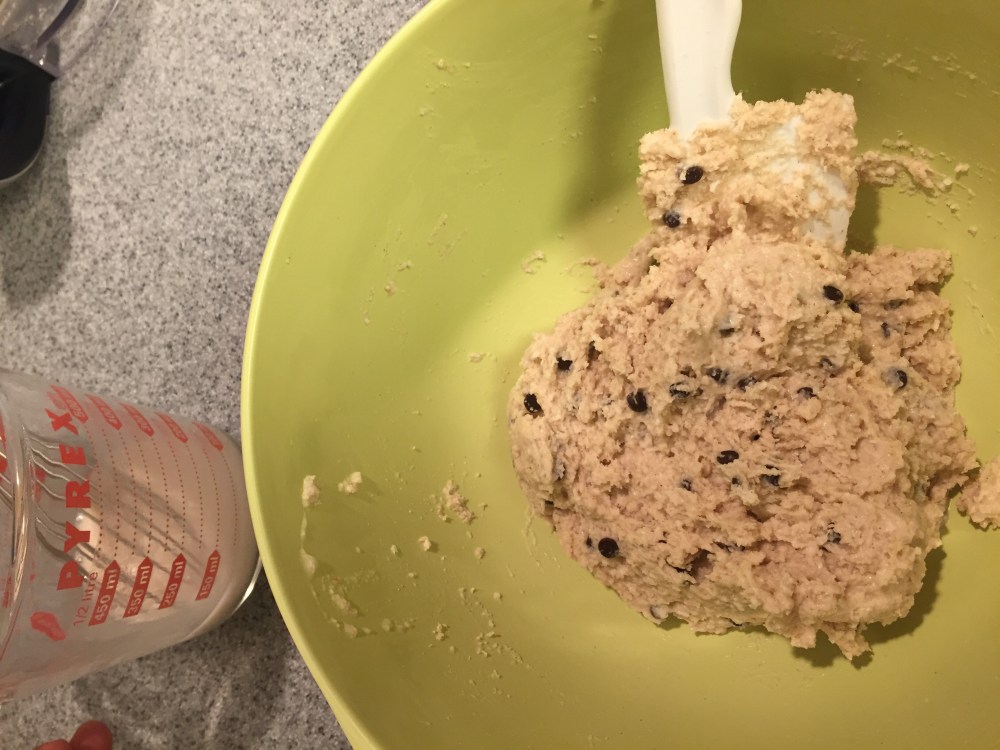
6. Using a spatula, stir in the coconut milk mixture. Add more coconut milk a little at time if needed until the dough begins to form. (Don’t worry if you don’t use all the milk.) The dough should be a little soft and sticky but still be able to hold together when formed and cut.
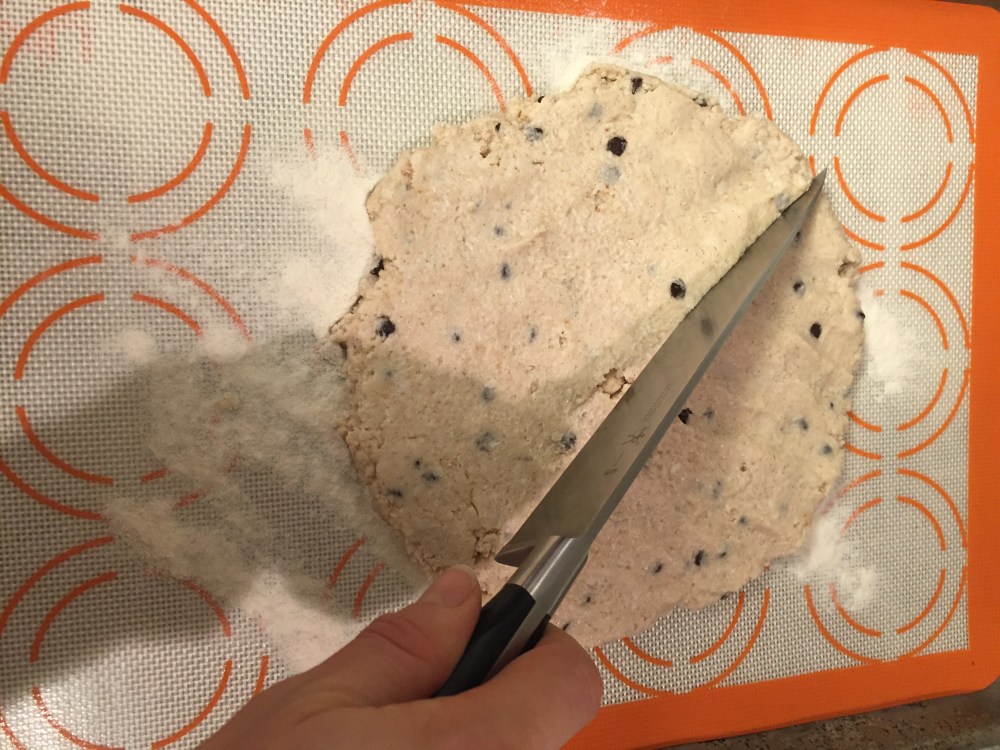
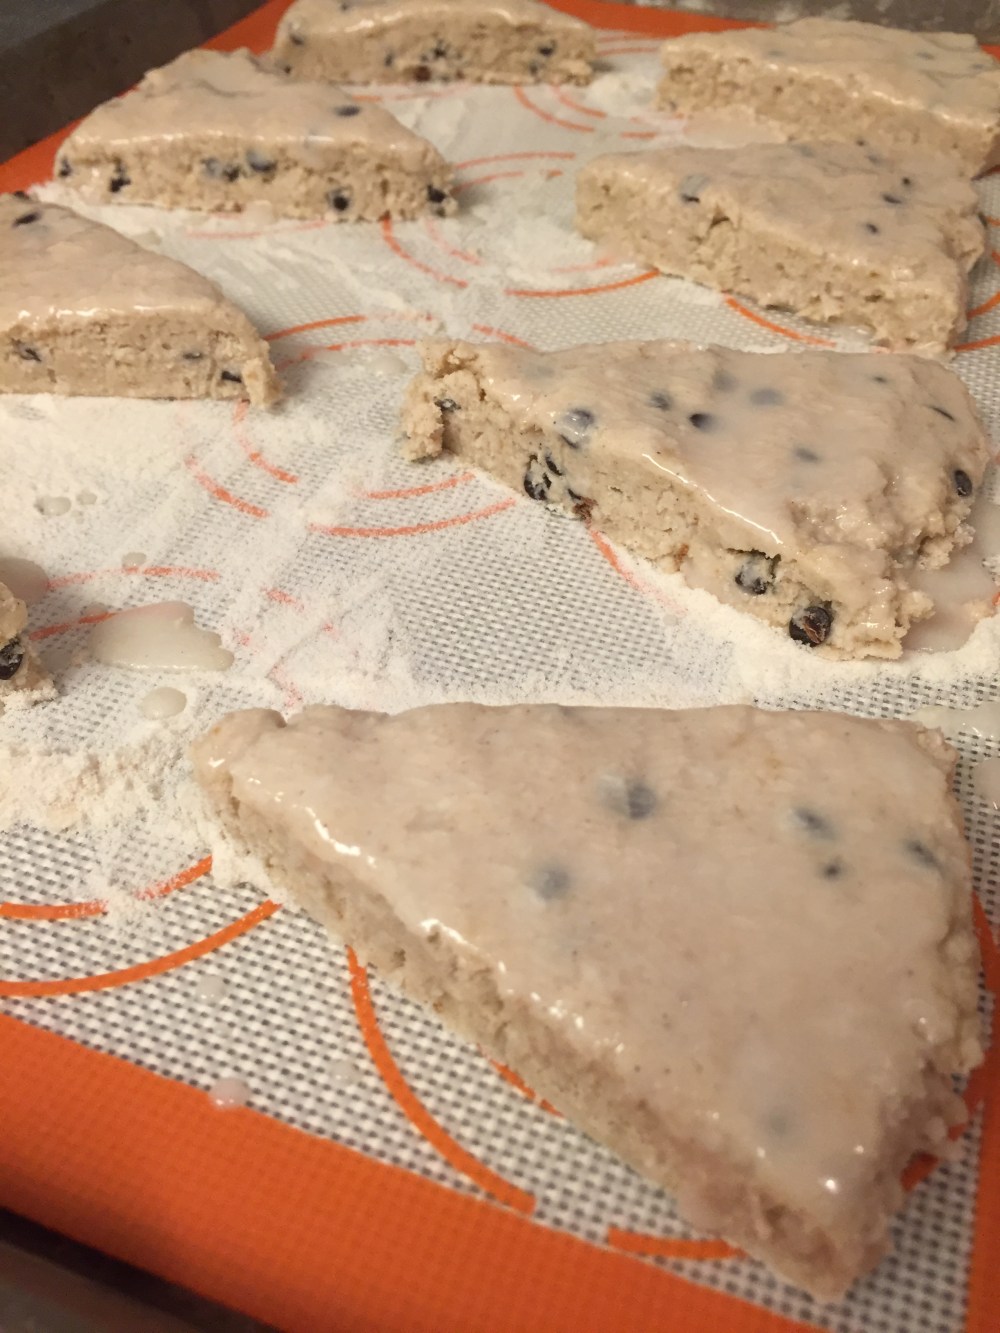
7. Lightly dust the countertop or pastry mat with sorghum or rice flour and turn the dough out onto it. Form it into a circle about 1 inch high and 9 inches across. Cut the dough into 8 wedges. Brush with the rest of the coconut milk and, if desired, sprinkle with coarse sugar. Place wedges on a cookie sheet lined with parchment or a silicon baking mat.
8. Bake for 12-15 minutes or until the scones are lightly browned on top. Remove to a wire rack and cool for about 10 minutes. Serve warm or at room temperature.
The steps:

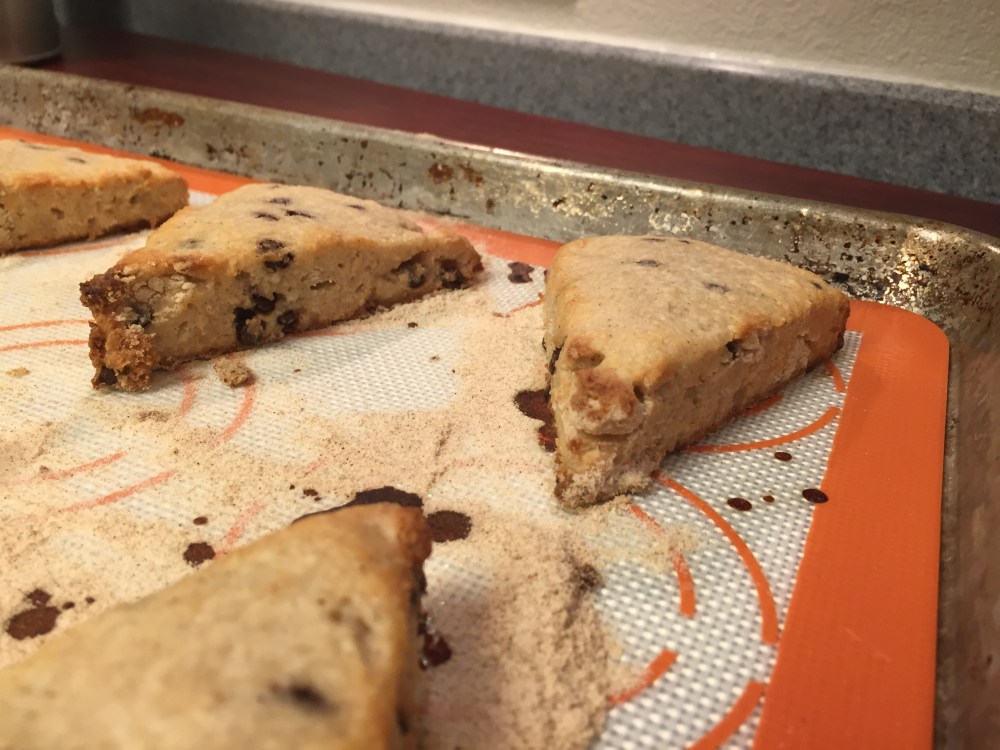
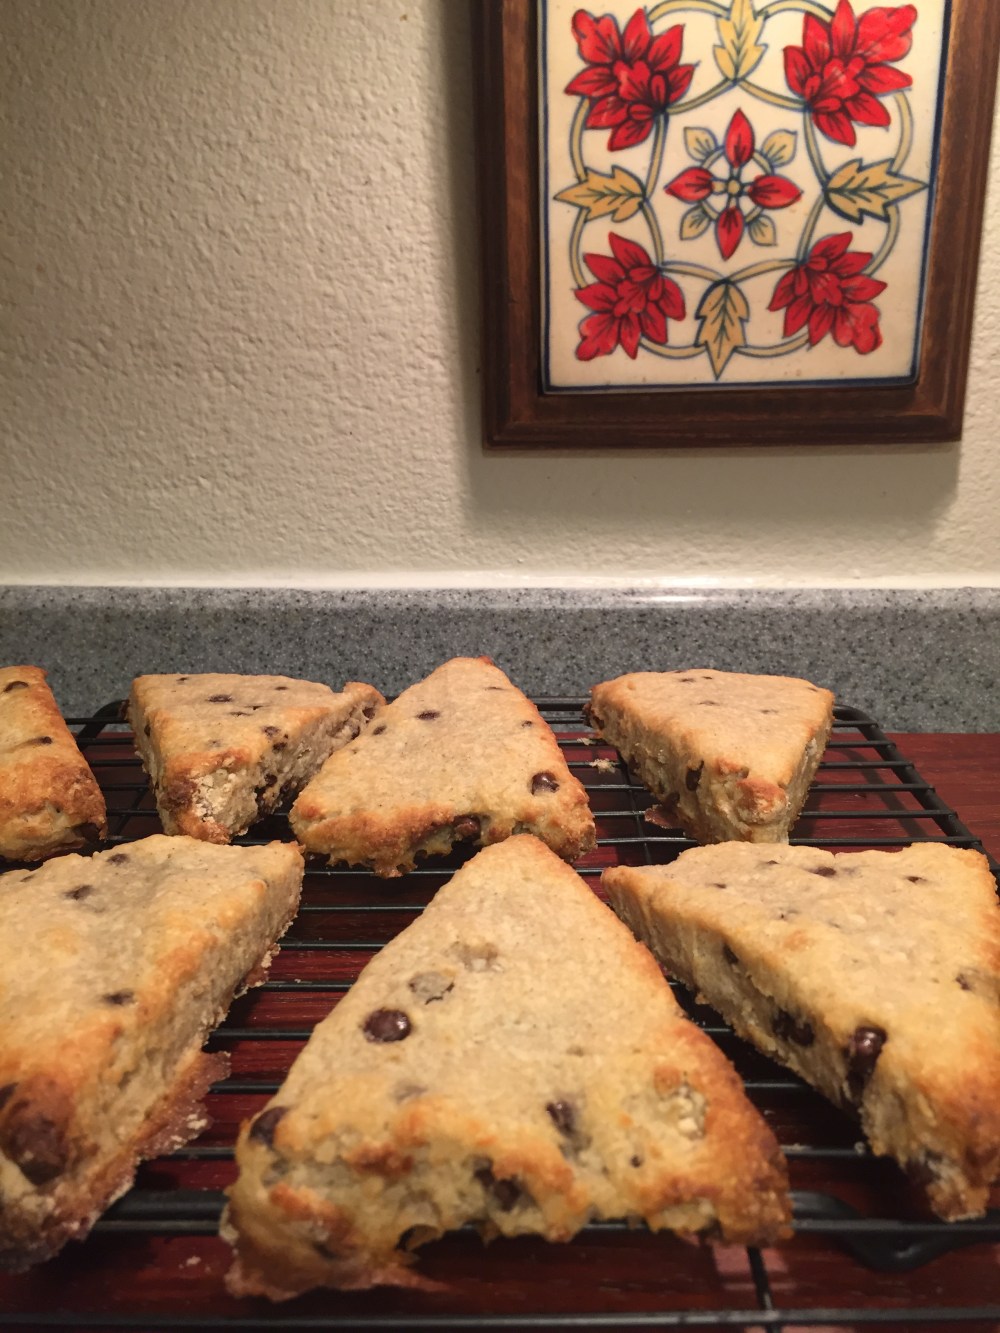
Results: